Photoshop Explode/Speed Text Effect
In this Photoshop Tutorial we will show you give your type a nice feeling of speed.
Step One: Open a new document, make the background black and type your letters in white. Now press Ctrl+E to reduce the layers to the background.
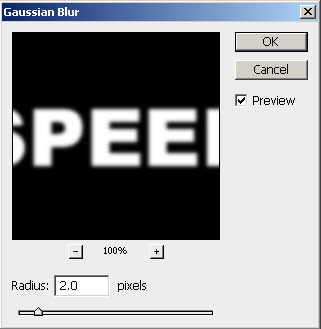
Step Two: Now go filters> Blur> Gaussian Blur and set the radius 2.0.
Step Three: Next go to Filters> Stylize> Solarize. Your text looks like this!

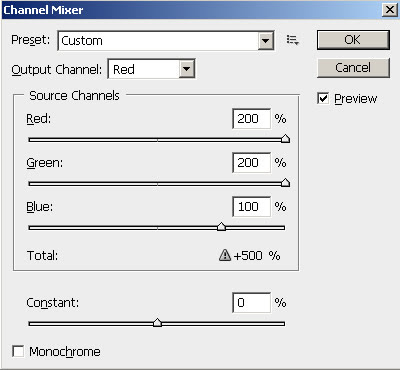
Step Four: Then use Image> Adjustments> Channel Mixer and use these settings:
After putting the values in Channel Mixer, your text looks like!

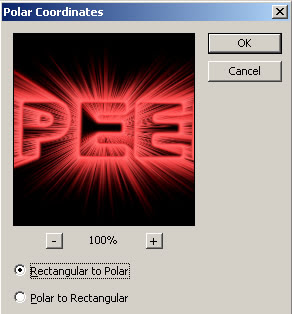
Step Five: Now go Filters> Distort> Polar Coordinates and use these settings:
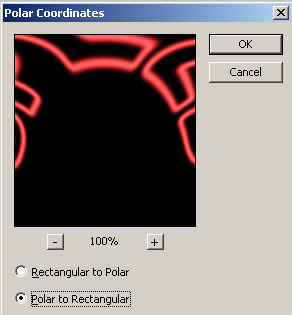
After this:

Step Six: Go to Image> Rotate Canvas> 90°CCW. Next apply Filters> Stylize> Wind and use these settings: (you may use wind two times; depending on your image size).
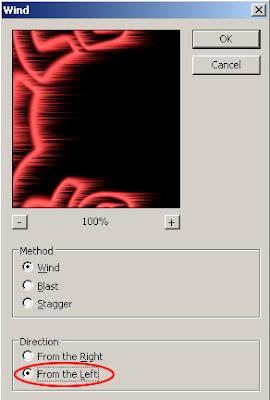
After this:
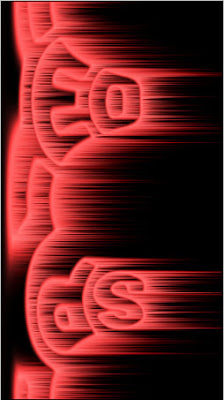
Step Seven: Then go to Image> Rotate Canvas 90°CW. Now go again Filters> Distort> Polar Coordinates and use these settings:
Final Result!

If you want to change the color of your text, Go to Image> Adjustments> Hue/Saturation or press Ctrl+U. The Hue/Saturation box appears and set the color's you want.




3 Comments:
My text doesn't look like that when I Solarize it. And that's about as far as i could get in this tutorial.
By Anonymous, At
September 3, 2009 at 10:04 AM
have you tried doing ctrl-e. i did that the first time i looked at this tut
By Sam, At
October 7, 2009 at 4:22 AM
This waas a lovely blog post
By Tara F, At
January 17, 2022 at 1:38 AM
Post a Comment
<< Home