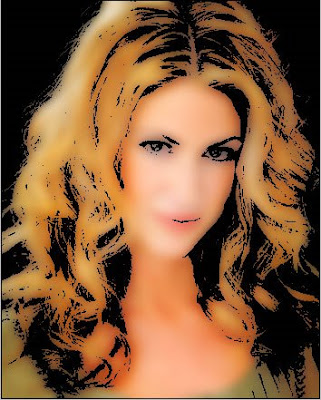
Photo Plastic Effect
Step 1: First open an image. I take this photo from www.flickr.com
Step 2: Duplicate the background layer by pressing Ctrl+J.
Set the duplicated layer blending mode to 'Multiply'.
Step 3: Select duplicated layer and go to Image> Adjustments> Threshold and apply the following setting:
Step 4: Now duplicate the original background layer by pressing Ctrl+J.
Step 5: Select the new duplicated layer and go to Filter> Blur> Gaussian Blur and apply the following setting:
Now your Image looks like:
Step 6: Select the top layer from the layer palette. Then click on the New Fill or Adjustment Layer and Choose Gradient.
Then Gradient Fill box appear, apply the following setting:
Step 7: Set the layer blending mode to 'Overlay' and Opacity to '50%'.
Step 8: Again click on the New Fill or Adjustment Layer and select Hue/Saturation and apply the following setting:

5 Comments:
beautiful effects
good job
thank
By Anonymous, At
May 6, 2009 at 8:31 PM
the final result is terrible.
By Anonymous, At
July 15, 2009 at 9:37 AM
V nice =)
http://www.q-stom.ru
By Unknown, At
September 11, 2009 at 12:11 PM
Great job and wonderful Plastic Effect here. thanks for sharing such a good and unique tutorail.
Image Masking Service | Clipping Path Service
clipping path | Photo Cut Out
By Remove White Background, At
May 16, 2016 at 5:15 AM
Great tutorial. I am so benefited from your post. Thanks
Raster To vector/clipping path service/Background Removal
By Robert smith, At
June 19, 2018 at 9:47 PM
Post a Comment
<< Home