Old Photo and Border to your photos
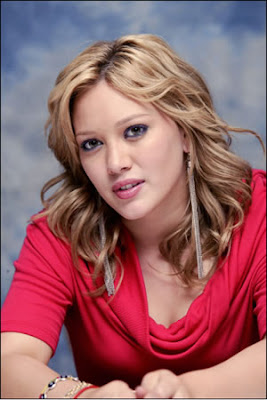
In this photoshop tutorial you will learn how to create an old photo and give border to your photos.
Step 2: Duplicate the background layer.
Click on the New Fill Or Adjustment Layer icon at the bottom of the Layers palette. It's the circle split diagonally between black and white. Then choose Hue/Saturation from the list of adjustment layers that appears:
Select the Colorize option at the bottom of the dialog box or Adjustments Panel, which will colorize the entire image using a single color.
Then set the Hue value to around 40.
Step 3: Change the blending mode of the Adjustment Layer to 'Color'.
Your image should now be colorized with a sepia tone.
Here's my image after adding the sepia tone and changing the blend mode:
Step 4: Select Background duplicated layer.
Then go to Filter> Brush Strokes> Angled Strokes and use the following setting:

Step 5: Set the 'Opacity' of Duplicated Background layer to '40%' and blend mode to 'Dissolve'.
With the blend mode set to Dissolve, the brush strokes effect now has a speckled appearance, adding to the old fashioned look of the image.
Step 6: Select the Hue/Saturation Adjustment Layer.
To create our speckled photo border, we're going to add a Solid Color fill layer which will serve as the color of the border.
Before we add the Solid Color fill layer, let's select the area that we want to use as the photo border. First, we'll drag out a rectangular selection around the area of the photo that we want to appear inside the border. To do that, grab the Rectangular Marquee Tool from the Tools palette.
Then, with the Rectangular Marquee Tool selected, click inside the image and drag a selection around the area that you want to remain visible inside the border.
Step 7: We now have the area that we want to appear inside the border selected. Problem is, what we really need is for the border area itself to be selected. Fortunately, all we need to do is invert the selection, which will deselect everything that's currently selected (the area inside the border) and select everything that's not currently selected (the border area).
Go up to the Select menu at the top of the screen and choose Inverse.
Step 8: Click once again on the New Fill Or Adjustment Layer icon at the bottom of the Layers palette and this time, choose a Solid Color fill layer from the top of the list:
This brings up Photoshop's Color Picker, allowing us to select the color that we want to fill the layer with. I am going to stick with the default color of black, so I'll just click OK to accept black as my fill color and exit out of the dialog box:
Normally, a Solid Color fill layer would fill the entire image with our chosen color, but because we had the border area around our photo selected when we added the fill layer, only the border area was filled with black:
Step 9: Select the Layer Mask and change the layer blend mode to 'Dissolve'.
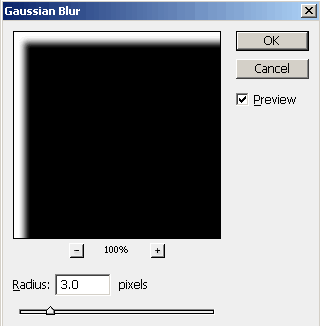
Step 10: With the layer mask now selected and the blend mode for the layer set to Dissolve, go up to the Filter> Blur> Gaussian Blur and apply the following setting:

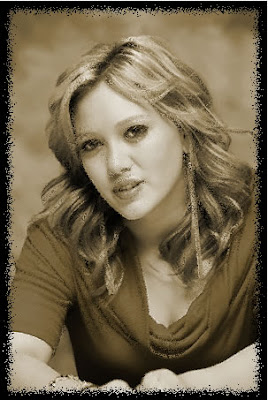
Final Vintage Photo!


2 Comments:
THanx... u just taught me what my teacher doesn't know
By Mustoq, At
January 9, 2010 at 8:26 AM
What a lovely tutorial about making an image old! Really so nice
By Robert Smith, At
June 28, 2018 at 10:13 PM
Post a Comment
<< Home