Blending Subjects with Backgrounds (Part-2)
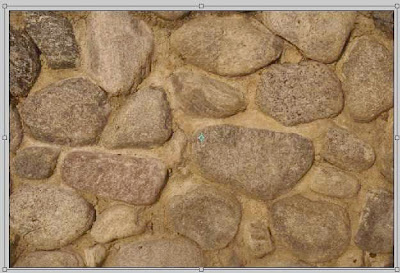
Step 13: Duplicate the wall layer and place the new instance of the wall at the top of the layer stack.

Step 14: For this top layer, go ahead and use the Edit => Transform => Scale function to increase the size of the layer so that the entire image is covered.
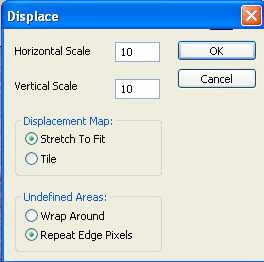
Step 15: Command/Control+Click the mask on the man layer to generate the selection again. Run the Displace filter with the settings seen below on the selection.
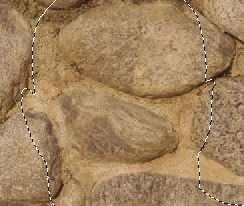
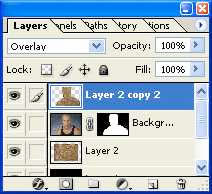
Step 16: Select the inverse and hit the Delete key. This will wipe away the extra stone, leaving only the man covered. Change the Blending Mode for this layer to Overlay. The results can be seen below so you can sheck your progress.
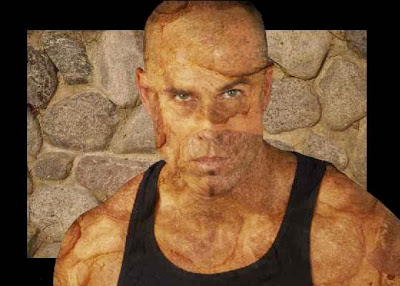
Step 17: Now use the transform tools to increase the size of the stone layer behind the man.
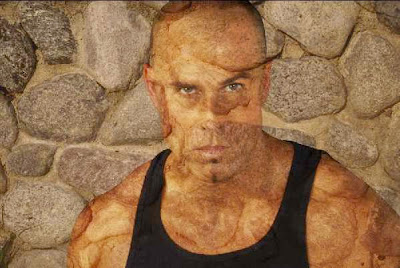
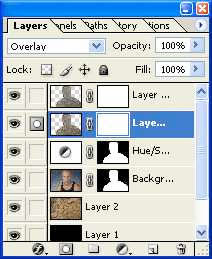
Step 18: Duplicate the top layer and change the blending mode for the new layer to Soft Light. This just helps enhance the features of the stone on the man.
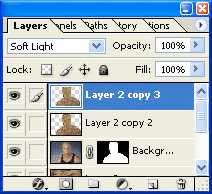
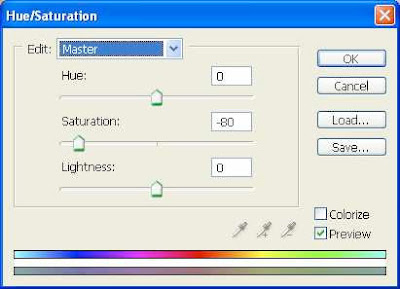
Step 19: Adjust the Saturation of the Soft Light layer, decreasing the Saturation to -80 or so.
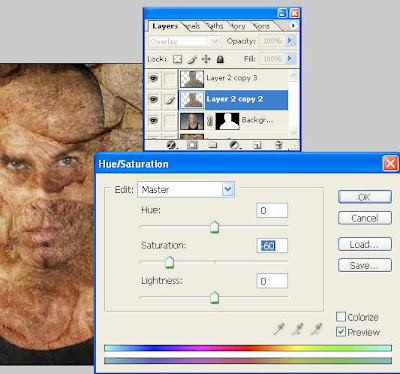
Step 20: Reduce the saturation of the Overlay layer also, but only adjust this to about -60.
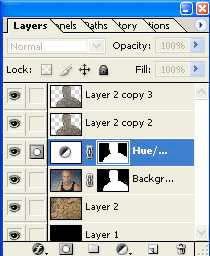
Step 21: We can still tone this down a bit further. Create a Hue/Saturation adjustment layer just above the man.
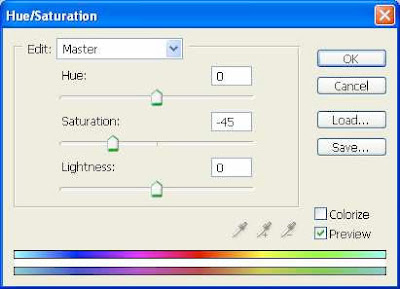
Step 22: You should be getting a fairly decent blend of the subject with his background.
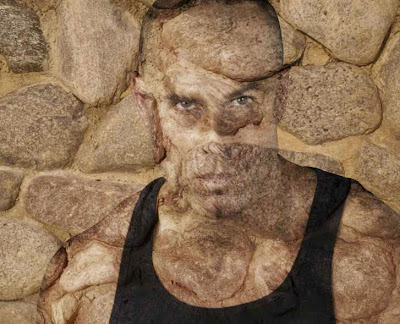
Step 23: As a result of using the Displace tool, some stretching of pixels has occurred on the stone-man layers. If this is the case, first select the stone-man overlay layer, and clean up these stretch marks around the eyes, lips and edges by taking samples of unstretched stone with the Healing Brush and applying the pattern to the stretched areas.

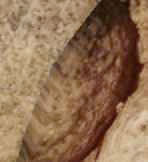
The image shows the man after the clean-up process.
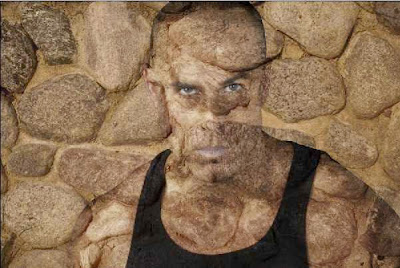
Step 24: Last things to do is reveal the eyes and lips again. To do this simply create masks for the stone-man layers and paint over those areas with Black in their respective masks.
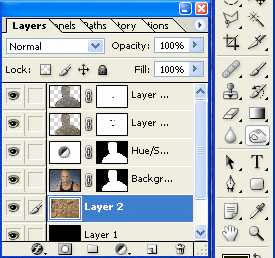
Step 25: Final thing, some shadow would do nicely to make him stand out from the background just a bit. Using the Burn Tool on the stone background and running it around the man's shoulders and head should work nicely. My Burn Tool settings are seen here:

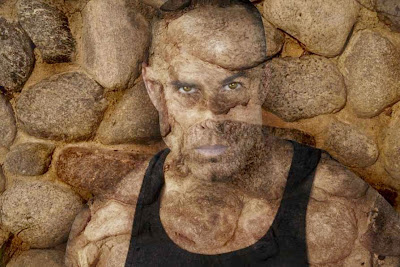
The final image is seen here:
2 Comments:
well done, man your tutorial is the best tutorial in your site, keep it up man
By Anonymous, At
March 26, 2009 at 11:25 PM
The man's shirt could be blended a bit more with the background. But other than that this was an excellent tutorial. Very detailed and beginner-friendly. Keep up the good work!
By Brochures, At
March 31, 2009 at 5:29 PM
Post a Comment
<< Home