Blending Subjects with Backgrounds
We are going to replace the background behind a subject, but we will also have the model take on the texture and characteristics of the wall.
Step 1: First, using an image of a rather grumpy looking dude from Photospin.com.
Step 2: Set up the layers palette as follows. First, copy of the background so remove the man from the background without messing with the Background layer. Next, create a new layer between the two with the model present and fill it with black.
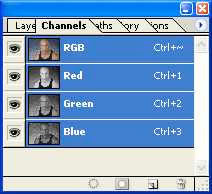
Step 3: Now we are going to conform a texture to the man's frame, and to do such I will be using a displacement map. I'll go ahead and create that now. If you are following along, go ahead and duplicate the Blue Channel in the channels palette.
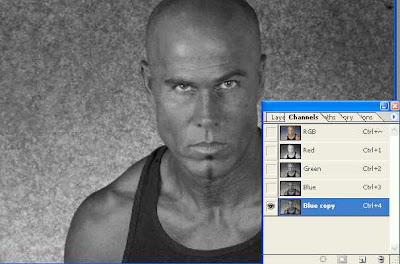
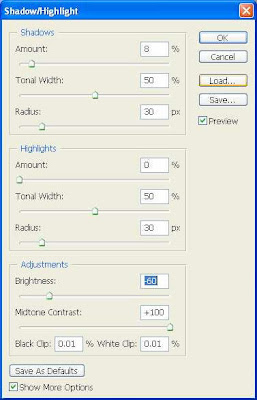
Step 4: In this step we are going to bump up the contrast of the new channel in a couple ways. First, use the Shadow/Highlights filter on the channel. My settings are shown below.
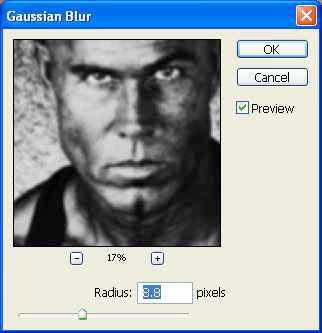
Step 5: As with most displacement maps, this will need some blur applied. Apply a Gaussian Blur as seen here.
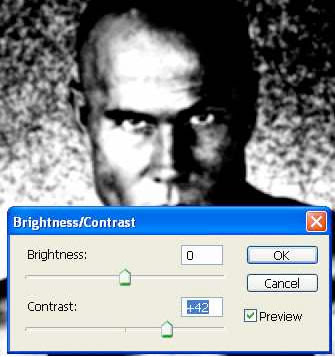
Step 6: In step-6 bump up the contrast a bit on the channel. My settings are seen below.
Step 7: Once satisfied with the displacement map, save it to a new file, name it, and save it to your hard drive.
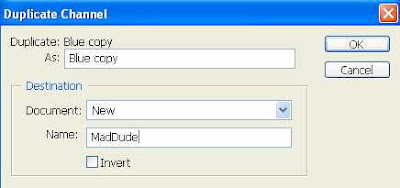

Step 8: Close the map once it has been saved. Return to the original image and delete the Blue Copy channel. You won't be needing it any more.
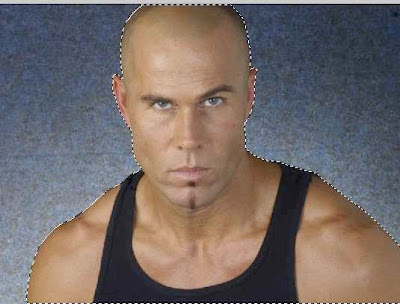
Step 9: Return to the layers palette. Using your favorite selection tool, select the man separate from the background. In this step used the magic wand tool with Add To Selection turned on, selected the background, then inverted the selection.
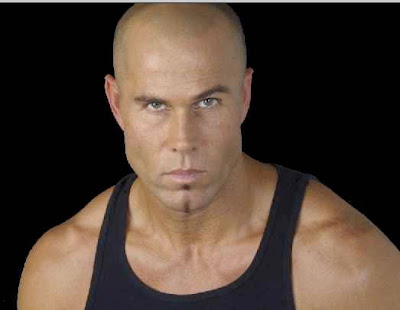
Step 10: Once your selection has been made, click the Add a mask icon on the bottom of the layers palette. The background will disappear to reveal the black layer beneath.
Step 11: Now open a background image that is fairly close to the size of the original photo. In this case I am going to use a stone wall (or perhaps a stone path) as my pattern of choice. This image is also available at Photospin.com.
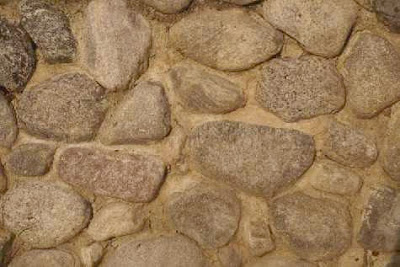
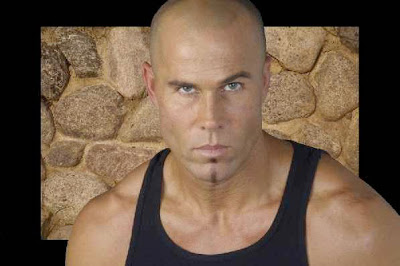
Step 12: Make a copy of the stone image and paste it into a new layer beneath the top most layer with the man present, but above the black layer. Don't worry if the image is smaller than the original as seen here: we can fix that in a bit.


0 Comments:
Post a Comment
<< Home