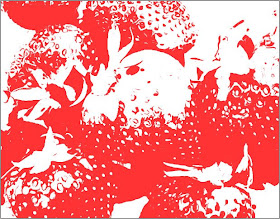
Step 2: Go to Image> Adjustments> Threshold and apply these following setting:
Step 3: Go to Filter> Stylize> Diffuse with these settings:
Step 4: Now you have to go to Filter> Sharpen> Unsharp Mask and use these settings:
Step 5: In the final step go to Image> Adjustments> Hue/Saturation or press Ctrl+U to add color.
Here's is the Final Result!:


2 comments:
Wow. Simple and effective. Thanks for the tut!!
A nice bit of photo retouching. I will certainly refer this tutorial to my students.
Post a Comment