Step 2: Duplicate the layer by pressing Ctrl+J.
Now apply the desaturate on the duplicated layer. Go to Image> Adjustments> Desaturate or press Ctrl+Shift+U.
Step 3: Now duplicate the desaturate layer by pressing Ctrl+J. We will see we have two black and white layers.
Step 4: Set the new desaturate layer blending mode to 'Screen' and Opacity to '55%'.
Step 5: Duplicate the original background layer by pressing Ctrl+J and move it to the top of the layers palette.
Change the background duplicate layer blending mode to 'Overlay'and Opacity to '75%'.
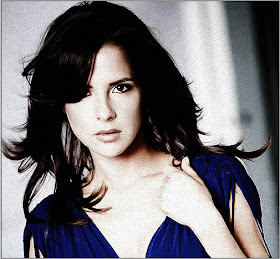
After that your Image looks like:
Step 6: Merge all layers onto a new layer at the top of the layers palette by pressing Ctrl+Shift+Alt+E.
Step 7: Go to Filter> Noise> Add Noise and use this settings:
Step 8: Apply sharpen to enhance the noise. Go to Filter> Sharpen> Smart Sharpen and use this setting:
Step 8: Click on the Create a new fill or adjustment layer icon at the bottom of the Layers palette and select curves.
When the Curves dialog box appears, simply click OK, do not change anything.
Step 9: Set the layer blending mode to 'Multiply' and Opacity to '80%'.


No comments:
Post a Comment