Step 1: Create a new canvas that is 500 x 500 pixels in size. Then create a new layer on top of the background. Now select your custom shape tool. The shape we're going to use ships with Photoshop 7 and is part of the "Nature" shape set. So load that shape set (Photoshops help file can assist with this if you are not familiar with how to do it) and find this shape.
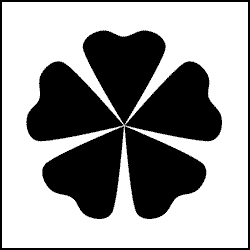
Step 2: Now that we have the correct shape selected, choose a good color for the flower (I used R:102 G:153 B:204 for mine) and drag to create a flower.

Step 3: Next, go to the layer styles box for the flower layer and select stroke. Make the stroke color the same as flower color and select 9 px for the size option. This is just a quick way to round out the flower a little bit.
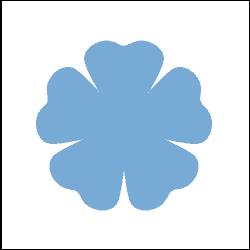
Step 4: Now create a new layer. Choose white as your foreground color. Make a flower that is slightly smaller than the one that we just created in the previous steps. Apply a stroke layer style to it once again but this time choose 5 pixels for the size. You should have something that looks like this so far.
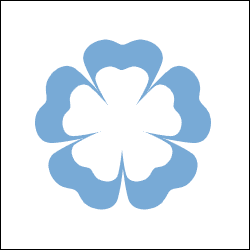
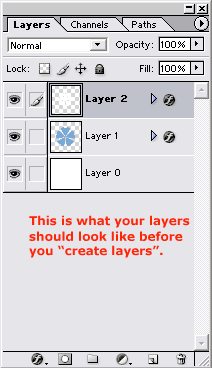
Step 5: OK fellow surf flower dudes, hopefully you're following along ok. Next we're going to flatten our layer styles and make them a permanent part of the layer. This is pretty easy if you've never done it before. Select the blue flower. Then, just right click on the layer (or go to the layer properties for you single buttoners, a.k.a. Mac Users, out there), and select "Create Layer". This just separates our styles out to new layers so we can merge them. Do this for the white flower as well. Now select the new layer that was created and hit Ctrl+E to merge it down. Do this for both blue and white flowers. See my screen shots below for help.
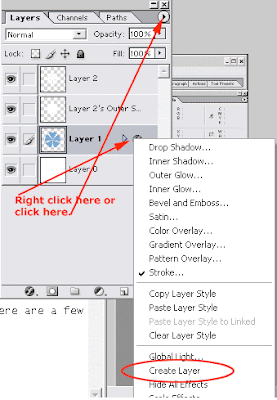
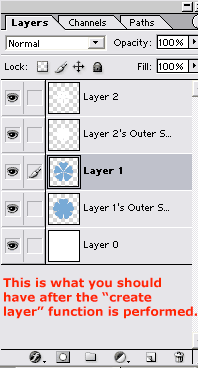
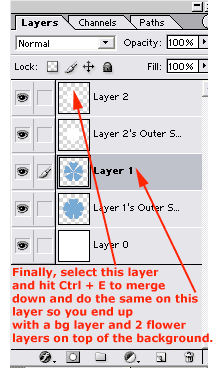
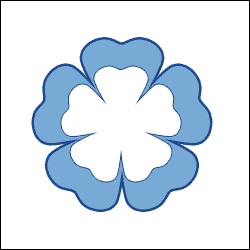
Step 6: OK, now go to your layer styles again and add a dark blue stroke to each flower. Make it 5 pixels for the blue and 2 pixels for the white flower. Your should look like this so far.
Step 7: OK, we're just about done. Create a new layer and go to your custom shapes once more. Select the teardrop looking shape. Make your foreground color the same blue that you used for the flower and drag out a long thin teardrop shape. It actually won't look anything like a teardrop but that is OK.
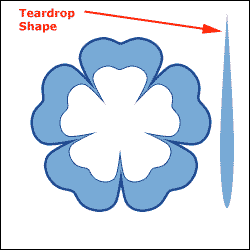
Step 8: Now make sure your teardrop layer is active. Go to Filter> Liquify. Select a large brush size (200 - 300) and select 15 for the brush pressure. Also make sure the warp tool is the active one . Now just nudge the teardrop shape a little so its a little squiggly. Note: You could also use Filter> Distort> Shear for this but I get more control with the liquify tool.

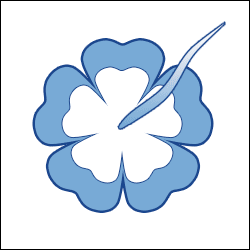
Step 9: Finally, I added a dark stroke to it and a gradient overlay. Then I positioned it in the middle of the flower using the rotate tool.
No comments:
Post a Comment